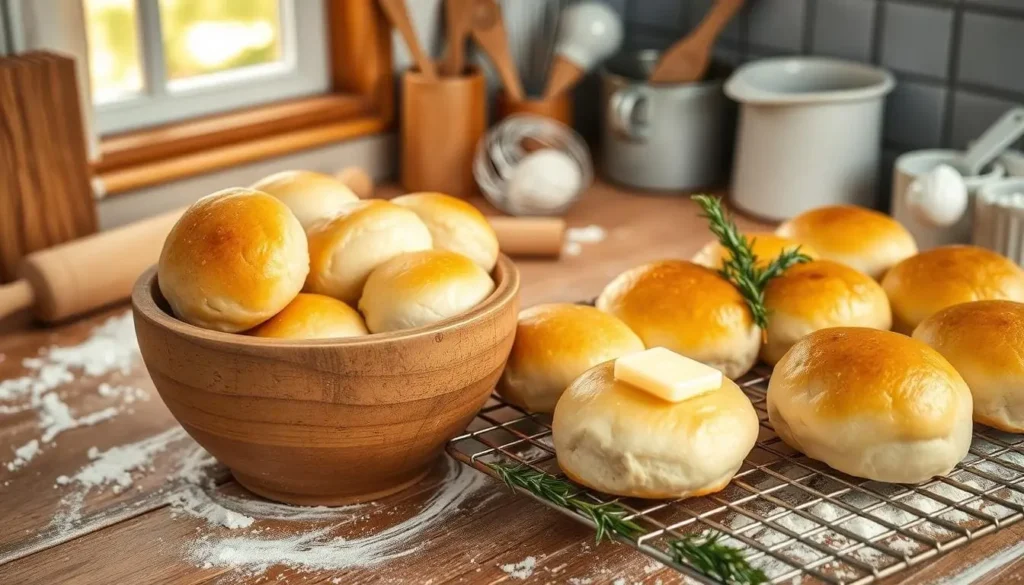
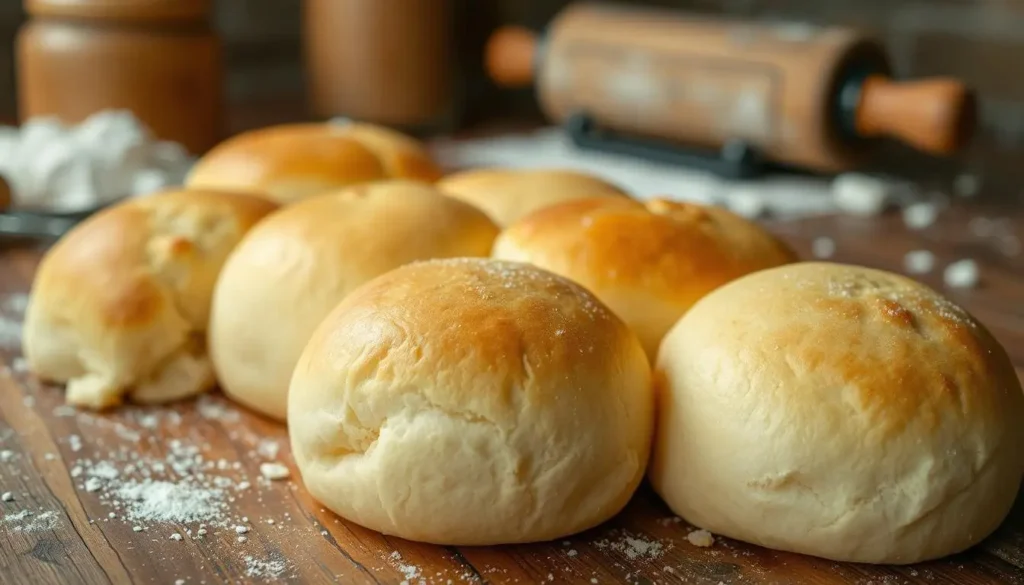
The aroma of fresh bread feels as comforting as a warm embrace. Homemade dinner rolls are soft and comforting. Today, I’m excited to share a simple recipe that will make your family happy.
Imagine your family gathered, the main dish ready, and only the homemade rolls missing. Today, you’re in luck. This recipe will be your favorite for any special meal or family dinner.

These soft and fluffy dinner rolls are easy to make, whether you’re an experienced baker or new to cooking. With a few ingredients and some time, you’ll impress everyone with your baking skills.
Table of Contents
Why These Homemade Dinner Rolls Will Become Your Family’s Favorite
Homemade dinner rolls are a true delight. You’ll discover that you keep returning to this recipe repeatedly.
Perfect for Special Occasions
Homemade dinner rolls are perfect for any festive event. No matter if it’s a festive holiday meal, a memorable anniversary celebration, or an intimate family get-together. Their fresh-baked aroma and irresistible taste will elevate your dining experience and create lasting memories with your loved ones.
Budget-Friendly Baking
This homemade dinner roll recipe is surprisingly cost-effective. By using a few simple pantry ingredients, you can create a batch of delicious rolls for a fraction of the price. This makes it an excellent choice for budget-conscious families who want to enjoy high-quality baked goods without breaking the bank.
Make-Ahead Options
This homemade dinner roll recipe is very versatile. You can make the dough ahead of time and freeze it, or bake the rolls in advance and reheat them when needed. This allows you to plan ahead, save time, and have freshly baked rolls on hand whenever you need them, making them a convenient and stress-free option for any occasion.
With their unbeatable taste, versatility, and cost-effectiveness, these homemade dinner rolls are sure to become a beloved staple in your family’s mealtime repertoire. Get ready to experience the joy of freshly baked, soft, and fluffy rolls that will delight your taste buds and bring your loved ones together around the table.
Essential Ingredients for Perfect Dinner Rolls Recipe
Preparing tasty homemade dinner rolls is easier than you might expect. The secret is knowing the key ingredients. Regardless of your baking experience, it’s important to grasp the function of each ingredient. It helps you make the perfect soft and fluffy dinner rolls recipe that everyone will love. At the core of any great homemade rolls are a few basic ingredients:
- Flour: All-purpose flour or bread flour gives the dough its structure and texture. This helps it expand properly while maintaining its structure.
- Yeast: Whether active dry or instant, it creates soft, fluffy rolls. It’s what gives them their signature rise.
- Sugar: A bit of sugar activates the yeast. It also adds a touch of sweetness to balance the savory flavors.
- Salt: A small amount of salt enhances the flavors, taking the dish to the next level.
- Butter or Oil: Adding a bit of fat, like melted butter or vegetable oil, makes the rolls soft and tender.
- Milk or Water: The liquid, whether milk, water, or a mix, hydrates the dough. It helps it come together.
With these essential ingredients, you’re ready to bake a batch of tasty dinner rolls. Your loved ones will be truly amazed.
Kitchen Tools and Equipment You’ll Need
Making perfect homemade dinner rolls needs the right tools and equipment. Regardless of your skill level, using the right kitchen tools is essential for great results. Let’s look at the must-have baking tools, optional equipment for better results, and measuring essentials for soft, fluffy dinner rolls every time.
Must-Have Baking Tools
- A robust mixing bowl: A spacious, durable mixing bowl is crucial for kneading and combining the dough.
- A reliable stand mixer (optional): If you have one, a stand mixer with a dough hook attachment can make the kneading process effortless.
- Rolling pin: Perfect for flattening and shaping the dough to your liking.
- Parchment paper or a silicone baking mat: For lining baking sheets to prevent sticking and ensure even baking.
- Baking sheets: High-quality baking sheets or pans will help your dinner rolls bake evenly.
Optional Equipment for Better Results
While the essentials above are must-haves, some additional tools can take your homemade dinner roll recipe to the next level:
- Dough scraper: This helpful tool makes it easy to divide and shape the dough.
- Bread proofing basket (or bowl): Helps maintain the perfect shape during the rising process.
- Instant-read thermometer: Ensures your dinner rolls are baked to perfection with an internal temperature of 190°F to 200°F.
Measuring Essentials
Precise measurements are crucial for creating the perfect dinner roll recipe. Ensure you have these measuring tools ready to go:
- Measuring cups: Crucial for accurately measuring dry ingredients like flour and sugar.
- Measuring spoons: For precisely measuring small amounts of ingredients like yeast, salt, and sugar.
- Digital scale (optional): For even more precise measurements, especially when it comes to flour.
With these essential kitchen tools and equipment, you’ll be well on your way to baking the most delicious homemade dinner rolls that your family and friends will love.

Step-by-Step Mixing and Kneading Instructions
Learning to make homemade dinner rolls starts with mixing and kneading. Whether you’re new to baking or experienced, these steps will help you make soft, fluffy rolls. They are sure to become a beloved choice for your family.
Start by mixing together the yeast, warm water, and a touch of sugar in a large bowl. Let it sit for 5 to 10 minutes until bubbles and foam form. This shows that the yeast is active and prepared to work.
In another bowl, mix together flour, salt, and any other seasonings you wish to include. Gradually incorporate the dry ingredients into the yeast mixture, stirring continuously to create a rough dough. Once the dough begins to form, transfer it to a floured surface and start kneading.
Kneading is key to making perfect dinner rolls. Choose to knead by hand or make use of a stand mixer equipped with a dough hook. The aim is to achieve a smooth, elastic dough that isn’t sticky. This usually takes 5-10 minutes.

While kneading, be gentle but firm. Push the dough away with your palm and fold it back; this technique softens and tenderizes the dough. If the dough feels too sticky, sprinkle in some flour until it reaches the right consistency.
Once kneading is complete, allow the dough to rise before shaping it. Follow the next section for proofing and baking to make your homemade dinner rolls come to life.
Proofing, Shaping, and Baking Tips
Getting the perfect homemade dinner rolls is all about the proofing, shaping, and baking steps. Let’s explore the key details for soft, fluffy, and beautiful dinner roll recipe results every time.
First and Second Rise Guide
The first rise is crucial for developing gluten and trapping air bubbles. Put your dough in a warm, draft-free location and allow it to rise until it has doubled in size, which typically takes around 1 to 1.5 hours. Be patient during this step for homemade rolls that are light and airy.
Shaping Techniques for Perfect Rolls
Once the dough has risen, lightly deflate it to expel the air. Divide it into equal parts and shape each into a smooth ball. Arrange the shaped rolls in a baking dish or on a parchment-lined tray, ensuring there is sufficient space for them to expand during the second rise and while baking.
Temperature and Timing Secrets
Bake your dinner roll recipe at 375°F (190°C) for 18-22 minutes, or until the tops are golden. Keep a close watch on them as they near the end of baking to prevent over-browning. Let the rolls cool for a few minutes before serving warm and enjoying their fluffy goodness.
FAQs
How long do these homemade dinner rolls take to make?
Making these easy homemade dinner rolls takes about 2-2.5 hours. But the hands-on time is short. This makes it perfect for beginners.
Can I make the dinner roll dough ahead of time?
Yes, you can make the dough ahead. After the first rise, punch it down and refrigerate it for up to 3 days. Let it sit until it warms to room temperature before shaping and baking.
How do I get the rolls to be soft and fluffy?
For soft and fluffy rolls, knead well and let it rise fully. Don’t overbake. Knead until smooth and elastic. Allow the dough to rise in a warm, sheltered spot free from drafts. Watch them closely while baking to avoid drying out.
Can I freeze the baked rolls?
Yes, you can freeze the baked dinner rolls. Let them cool fully before storing in an airtight container or freezer-safe bag. Keep them in the freezer for up to 3 months, and reheat at 350°F for 10-15 minutes.
Do I need any special equipment to make these rolls?
You don’t need special equipment. A stand mixer helps, but you can make them by hand. Just use basic tools like a large bowl, wooden spoon, and lightly floured surface for kneading.
Can I customize the flavor of the dinner rolls?
Definitely! This recipe provides a flexible base for incorporating your favorite flavors. Try herbs, cheese, honey, or cinnamon. Add a finishing touch with butter, garlic, or a sprinkle of Parmesan cheese.
Easy Homemade Dinner Rolls Recipe – Soft & Fluffy
Course: DinnerCuisine: American, BreadDifficulty: Easy12
dinner rolls30
minutes22
minutes150
kcalIngredients
1 package active dry yeast (about 2 1/4 tsp)
1/2 cup warm water (110°F/43°C)
1 tbsp sugar
3-4 cups all-purpose flour (or bread flour)
1 tsp salt
2 tbsp butter (melted) or vegetable oil
1/2 cup milk (or water)
Additional flour for kneading (as needed)
Step By Step
- Activate the Yeast:
In a large bowl, mix yeast, warm water, and sugar. Let it sit for 5-10 minutes until foam and bubbles form, signaling that the yeast is activated. - Combine Dry Ingredients:
In another bowl, mix 3 cups of flour and salt. Gradually add this mixture to the activated yeast, stirring continuously until a rough dough forms. - Knead the Dough:
Transfer the dough to a floured surface and knead by hand or using a stand mixer with a dough hook. Knead for 5-10 minutes until the dough is smooth and elastic. Add more flour as necessary if the dough is sticky. - First Rise:
Place the kneaded dough in a lightly greased bowl, cover it with a damp cloth, and allow it to rise in a warm, draft-free place for about 1-1.5 hours, or until it doubles in size. - Shape the Rolls:
After the dough has risen, punch it down and divide it into 12 equal pieces. Roll each piece into a smooth ball and place them on a parchment-lined baking sheet or in a greased baking dish, leaving space between them. - Second Rise:
Let the shaped rolls rise for another 30-45 minutes, or until they have doubled in size. - Bake:
Preheat the oven to 375°F (190°C). Bake the rolls for 18-22 minutes, or until the tops are golden brown. Keep a close eye towards the end to avoid over-baking. - Cool and Serve:
Remove the rolls from the oven, let them cool slightly, and serve warm. Optionally, brush them with melted butter for extra flavor.
Notes
- Make-Ahead Options:
You can make the dough ahead of time and refrigerate it after the first rise. Allow it to warm up to room temperature before shaping and baking.
The dough can also be frozen after shaping (before the second rise) and stored for up to 3 months. Let it thaw and rise before baking. - Leftover rolls can be stored at room temperature for up to 2 days, or frozen for up to 3 months. Reheat at 350°F (175°C) for 10-15 minutes to refresh their texture.
- For extra soft rolls, ensure you knead the dough well and let it rise in a warm, sheltered location. Avoid overbaking the rolls to keep them tender.
Rate the Recipe
There are no reviews yet. Be the first one to write one.


[…] party? The menu is key. Make your feast special by impressing your guests with your main courses, side dishes, and […]
[…] healthy, active starter is the secret to creating quick, light, and flavorful sourdough rolls. An underfed or inactive starter will result in dense, lackluster rolls that won’t rise properly. […]